Bear Wood Carving: Make a Small, Downcast Bear
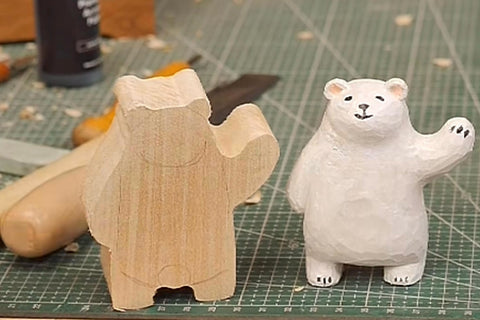
This bear’s lowered head and long arms give it a mildly unhappy expression—the original idea was a bear facing a Monday at work. Its carving process is built around clear reference lines and a second drawing after the first cuts. The feet are the most demanding small area.
Align the front, sides, and back
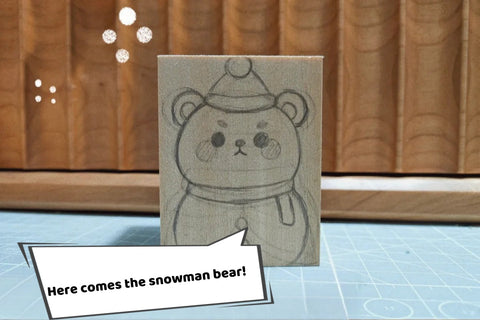
Draw the bear on a rectangular basswood block. Add a front centerline, then extend horizontal guides around the block at the nose, mouth, chin, chest above the arms, paws, and the junction between the legs and feet.
Match these levels in both side views and the back. In the side drawings, pay particular attention to the height and projection of the paws. The shared lines help retain the lowered head and body proportions as you turn the blank.

Cut the side profile, then restore the front
Remove the waste outside the side outline first, leaving some material beyond the drawing. Those cuts will remove parts of the original front sketch.
Redraw the front on the new surface before making the next cuts. Use the remaining height references to restore the head, arms, and feet, then cut outside that outline as well.


Round the body and separate the main features
Use carving tools to reduce the squared corners. Define the ears, neck, arms against the body, and the transition between legs and feet.
Keep comparing the side and front as you shape the arms. They remain close to the body, but their edges need to be distinct enough to preserve the pose.

Separate the feet and finish the expression
Refine the space between the two feet carefully. This narrow space is the main challenge; check their width and their connection to the legs rather than removing the center waste too quickly.
Sand unwanted edges without erasing all of the carved surface. Add the eyes, nose, mouth, and small paw marks with your chosen drawing or painting medium. The photographed example keeps its natural wood color.
Check the grain through these small connections before thinning the feet further.