Bird Wood Carving: Shape a Small Bird with Feathered Wings
These small birds have short necks, rounded bodies, and raised wings with simple overlapping feather shapes. This project uses basswood and leaves the surface unpainted. It is an intermediate project: the main form is compact, but the wings and feather details call for controlled smaller cuts.
Prepare the blank and align the drawings
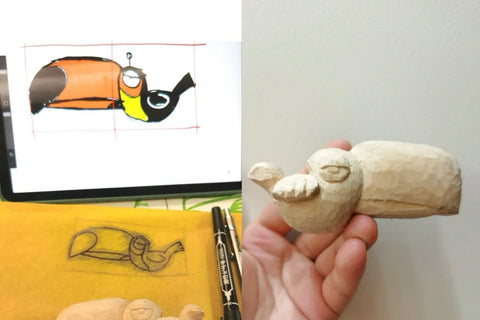
Start with a rectangular basswood blank. If you want to carve the pair shown in the project, divide a longer piece into two suitable blanks.
Draw the bird’s long side profile on the broad face. Use the shorter faces for the head-on and tail-end views. Add three horizontal guides through the eyes, beak, and foot level, and extend them onto the neighboring faces. These shared heights help the views stay aligned.


Establish the rough bird shape
Remove the waste outside the drawn profile, leaving room for refinement. Keep material beneath the bird if you want an integral base.
Check the head-on view as well as the long side profile. The body needs width for the rounded breast and wings; a recognizable side outline is only the beginning of the three-dimensional shape.

Raise the wings from the body
Redraw the head-on view after the rough cuts. Use the wing curvature seen from that angle to guide the wings on the long sides.
Mark the broad wing outline and lower the surrounding body enough for the wing to stand above it. Refine the overall curve before adding the feather pattern. Compare both sides so the wings belong to the same rounded body.


Carve overlapping wing feathers
The example uses simple, scale-like feather shapes rather than fine individual barbs. Arrange them in staggered rows within the wing. Keep their size and direction consistent enough for the rows to read as overlapping feathers.
Use small carving tools to define the individual shapes while retaining the broader raised wing beneath them. The pattern can vary from the first sketch; the important checks are the rhythm of the rows and the curve of the whole wing.
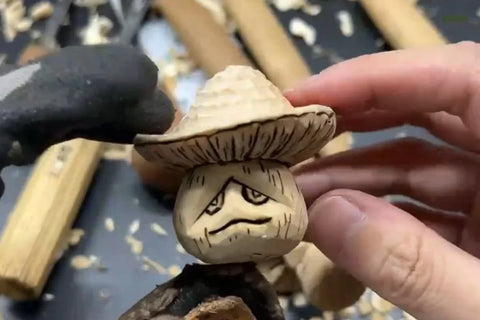
The carved side view shows the amount of detail used here. This method gives a decorative feather effect without attempting every feature of a realistic bird wing.
If you use a carving knife for these small recesses, practice the basic whittling cuts on a separate piece first.

Choose the base and finish the underside
Keep the reserved base for a small standing display, or remove it for the tucked-foot shape shown in the final view. If you remove the base, smooth the underside and give it a small flat resting area if you want the bird to sit on a level surface.
Sand the broader body where needed, working carefully around the feather carving so its edges remain visible. You can also adapt the design as a hanging ornament by adding a cord attachment.