Goku Wood Carving: An Advanced Character Study
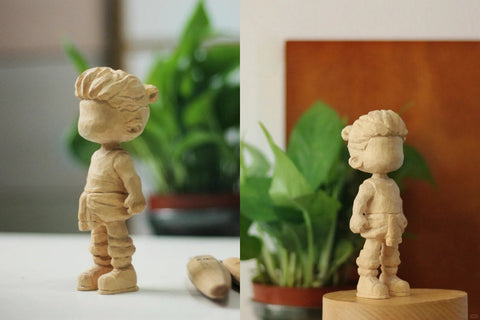
This young Goku carving uses a large head, pointed hair, and a compact body. This is an advanced project: the hair points, narrow neck, and clothing details call for experience with detailed figure carving. The animations show the main stages for studying how the form develops.
Draw the full character
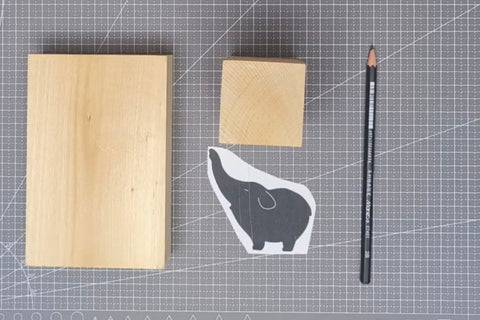
Choose a basswood block that accommodates the reference drawing. Mark a clear outline and include the face and clothing details before cutting. The large head needs considerably more width than the body below it.

Establish a T-shaped blank
Remove the outer waste in stages, retaining the drawing as a reference. Reducing the material beside the body first leaves a T-shaped blank, with the wider upper section reserved for the head and hair.
As the outline becomes more recognizable, keep working outside it. This example leaves about 0.5 cm at this rough stage; that is an allowance used for this particular blank, not a dimension for every small hair point or limb.
Support the blank securely for both sawing and waste removal. Keep your holding hand clear of the edge and its follow-through; review blade-path and work-support safety before repeating the hand-tool operations.


Give the hair points depth
The front cutout still has the full thickness of the block. Pare back the outer layers of the thick hair points while leaving their middle thicker. In the animation, the front corners are reduced while the pointed hair mass remains behind the face.
Turn the head between cuts and check the thickness from the side. Reduce the outer material gradually so the points stay connected to the main hair mass.
Check grain direction and short-grain projections before thinning the hair points.

Recess the neck
Make a shallow saw cut across the neck area below the head, then pare away the waste up to that cut in small stages. Leave the neck connected; the aim is a recess that separates the projecting head from the body.
The drawing in the neck area will disappear as the surface is lowered. Restore any reference marks you still need before continuing.


Reduce the body and shape the face
Reduce the body’s thickness so the head projects beyond it in the side view. Keep checking the front drawing as you establish the clothing and arms.
Pare the outer corners of the face at an angle, using the drawn facial outline to guide the smaller rounded form.


Refine the small features
Use smaller tools to define the individual hair shapes, hands, belt, and clothing folds. These details belong after the larger head and body forms have been established.
Fit the separate curved tail at the back, checking its position against the finished view. Smooth the face with sandpaper when its shape is settled, preparing it for the painted expression.


Paint the character
The finished example uses dark hair, warm skin tones, and red or orange-red clothing. Apply the facial expression with a fine brush and compare it with the reference as you work.
The finished views are useful for studying the form as well as the colors: the hair remains layered, the head projects beyond the body, and the small clothing details remain distinct.