Carving a Wooden Squidward Figure: Proportions and Shape
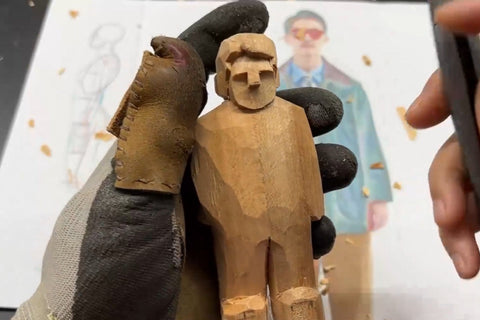
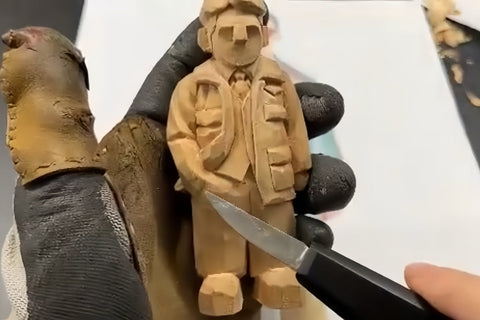
Squidward’s long nose, narrow neck, and folded arms make a distinctive small carving. This version is carved from basswood and left unpainted. The photographs show the drawing, cutout, and finished form; the most useful lessons are how those shapes relate to one another. The thin connections and overlapping features make it a project for carvers who already have experience shaping figures.
Draw the proportions before cutting
Start with the front view on a basswood block. Place the horizontal centerline at the chest, then draw the arms crossed over the small shirt. In this pose, the arms extend a little beyond the sides of the torso.
Give the neck and legs their narrow, elongated shapes. Draw all four feet: in the front view, the rear pair appears higher than the pair in front. That difference belongs in the drawing before the silhouette is cut.
The mouth is almost as wide as the head, while the nose is slightly wider than the neck. These relationships help retain the familiar expression as the block becomes three-dimensional. Begin in pencil so you can adjust them, then strengthen the settled outline with a pen.

Cut the silhouette with room to refine it
Remove the waste outside the drawing, leaving some wood beyond the outline. Keep the drawn shape visible while you establish the cutout, especially around the long nose, neck, arms, and legs.
At this stage, the front profile is recognizable, but the block still needs depth. Compare the cutout with the drawing before reducing the sides.
Check grain direction and short-grain connections before reducing the narrow neck and legs.

Separate the face, arms, and feet in depth
Shape the figure from the front, sides, and back. The eyes, nose, and mouth sit at different depths; preserve those changes as you round the head. The crossed arms also need a clear separation so that the overlap remains visible instead of becoming one flat band across the chest.
Check the four feet together. In this example, they are kept similar in size and arranged as an equal-width cross. Look at the underside as well as the front, and check how the figure sits on a flat surface as you refine the feet.


Choose the surface finish
Refine the remaining edges and sand where needed without flattening the facial changes in depth. The photographed figure keeps its natural wood color. Pale green is an optional color choice if you prefer a painted version.
An oil finish is another option for the natural-wood version. Follow the application instructions for the finish you choose.