Carving a Wooden Carrot with a Display Base
This carrot stands on a small base carved from the same piece of wood. The tapered body, clustered leaves, and shallow texture make a compact project with fewer details than a figure carving. This example uses basswood and keeps the base in its natural wood color.
Draw the carrot on the block
Use a rectangular basswood blank. Sketch the carrot on the front, then carry the shape onto the sides and back. Draw horizontal guides near the top and bottom: reserve the upper area for the leaves and the lower area for the base.
Between those guides, draw the long, rounded body of the carrot. Check the side drawings as well as the front so the body has thickness instead of becoming a flat cutout.

Shape the body while retaining the leaves and base
Remove the waste outside the drawing in controlled stages. As you approach the outline, take smaller amounts and keep checking the neighboring faces.
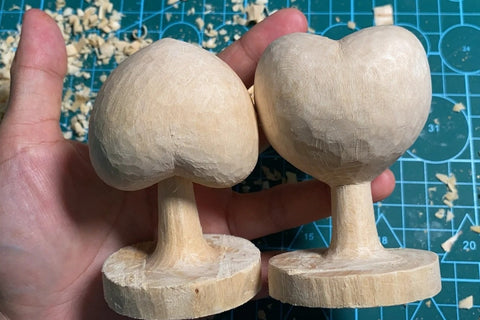
Leave the leaf cluster and the base attached. At this stage, the broad shape resembles a narrow vase: a rounded central body, a smaller connection above it, and a base below.
If the cuts are new to you, practice the basic whittling cuts on a separate blank first.

Separate the leaf cluster and refine the base
Define the division between the leaves and the carrot body. Narrow the area above the base while retaining the connection that holds the carrot upright.
Recess the divisions between the leaves to make the cluster more distinct. The example allows variation in the leaf shapes; keep them connected as you establish those smaller forms.

Add texture and color
Carve irregular, shallow lines across the carrot and detail the leaves. Use the texture to break up the broad surfaces rather than covering every area with fine marks.
Paint the carrot orange and the leaves green. The photographed base remains natural wood. Use a water-based color medium suited to wood, follow its application instructions, and let the color dry.