Rabbit Wood Carving: Mr. Bunny in a Coat
Mr. Bunny is a small rabbit wearing a coat. This project gives a compact route from a measured basswood blank to a cutout and a finished figure. It is best used alongside basic carving practice, especially for the ears, coat details, and feet.
Practice the basic whittling cuts before working on the small coat and face details.
Draw the front and side views
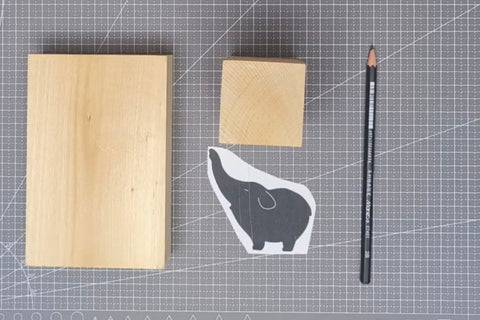
Start with a 5 × 5 × 15 cm basswood block. Draw the rabbit from the front and side before cutting. Use the full height to plan the ears, head, coat, and feet, checking that matching features stay at the same level in both views.

Establish the cutout and body depth
Use a fret saw to remove the waste outside the drawing, keeping room for refinement. The first cutout establishes the long ears and the outline of the coat.
Shape the sides to give the head and body depth. Compare the side photograph with the front outline as you reduce the squared corners.
For saw choice and securing the blank, see the beginner carving tools guide. Check grain direction and short-grain connections before thinning the ears and feet.


Refine the rabbit and coat
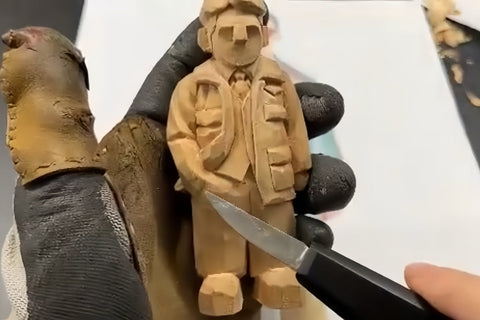
Use smaller carving tools for the remaining details. The finished views show the rounded head, separate ears, coat collar and pockets, and the two feet. Use those features as checkpoints while retaining the simple upright pose.
You can leave the wood unpainted, as shown, or choose a painted finish. The photographs give the main stages rather than a separate cutting sequence for every coat detail.